Lately I've been thinking about how I really need to get fudged.. So what did I do? Naturally I headed over to Fudge Graphics for a tutorial. I am not very proficient with Adobe Photoshop, and this was sort of a pain in the ass for me. I almost gave up at step 9, but since this is a 10 step tutorial, that would make me a quitter, wouldn't it?
So this begins in Adobe Illustrator, and you draw some lines with your pencil tool. 2 lines actually. I know - what am I bitching about? This is a piece of cake you say.. Now, just as with the little chain links from the previous vector lesson, I used the Object> Blend tool to create a block of lines from the 2 that I started with. That's the easy part really. From there, you drag them to Photoshop where all the fun baby games end and Photoshop layer hell begins.
I am convinced that one day, just the way a cowboy breaks a wild Mustang, I will break.. well, no I hope I don't break it, I will CONQUER Photoshop. Until that day, I will click and nothing will happen, then I'll click on something else, and still nothing will happen, and then I'll Google "Where is the inverse button?" and dammit.. one day.. I'll KNOW where that button is on my own, and when I click it, it will fudging work!
But, I have gone off here.. I'm still suffering Photoshop trauma as I've only just completed this lesson.
ahrm.. so...
I found that the textures provided are really helpful if you want the end result to be somewhat similar to the lesson, although I did try some of my existing textures and I think you could definitely use your own. It just depends on how closely you want your work to be to the example provided.
Doing this once, I already know that I would have thought more about the lines that I made in step one. You can have a lot of fun making gradients for this assignment, and in the end, adding the Hue Adjustment Layer was a great idea, because you can really amp up the saturation and tweak the colors. Since I am basically a retard when it comes to Photoshop, I'm pleased with the results.
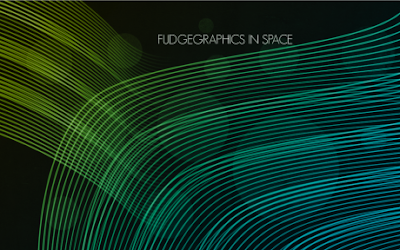
Example provided by Franz

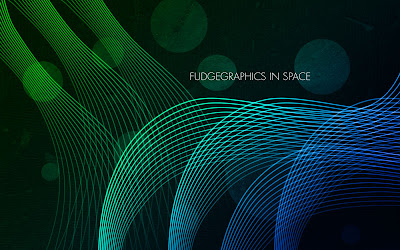
My results

BTW: You can click on any of the images that I post here for a better view, since they're usually much larger than Blogger's layout allows.

2 comments:
so great. Before reading the blog I looked at the images, and I have to say that the second image jumps out a lot more than the first. I image that you could get some great retro results using the methods you talk about here. Good job!
awesome job! I loved your ninjas too! My goal is to master illustrator this year. The pen tool is a pain in the ass but eventually it will just click. If I can help with any PS stuff just let me know!
Post a Comment